Most remodeling headaches don’t come from bad contractors or bad taste. They come from making decisions in the wrong order. Someone falls in love with a tile, builds the bathroom around it, then discovers the vanity they wanted doesn’t fit the layout, or the lighting plan doesn’t suit the finish. Each late change costs money, time and patience.
Designers follow a sequence that moves from the hardest-to-change decisions to the easiest. Here it is.
1. Goals, priorities and budget
Before any drawings: what isn’t working, what you want instead and what it’s worth to you. Rank priorities so that when the budget gets tight (it usually does) you know what to protect. Plan a contingency of 10 to 20 percent for surprises behind walls, more in older homes.
2. Layout and structure
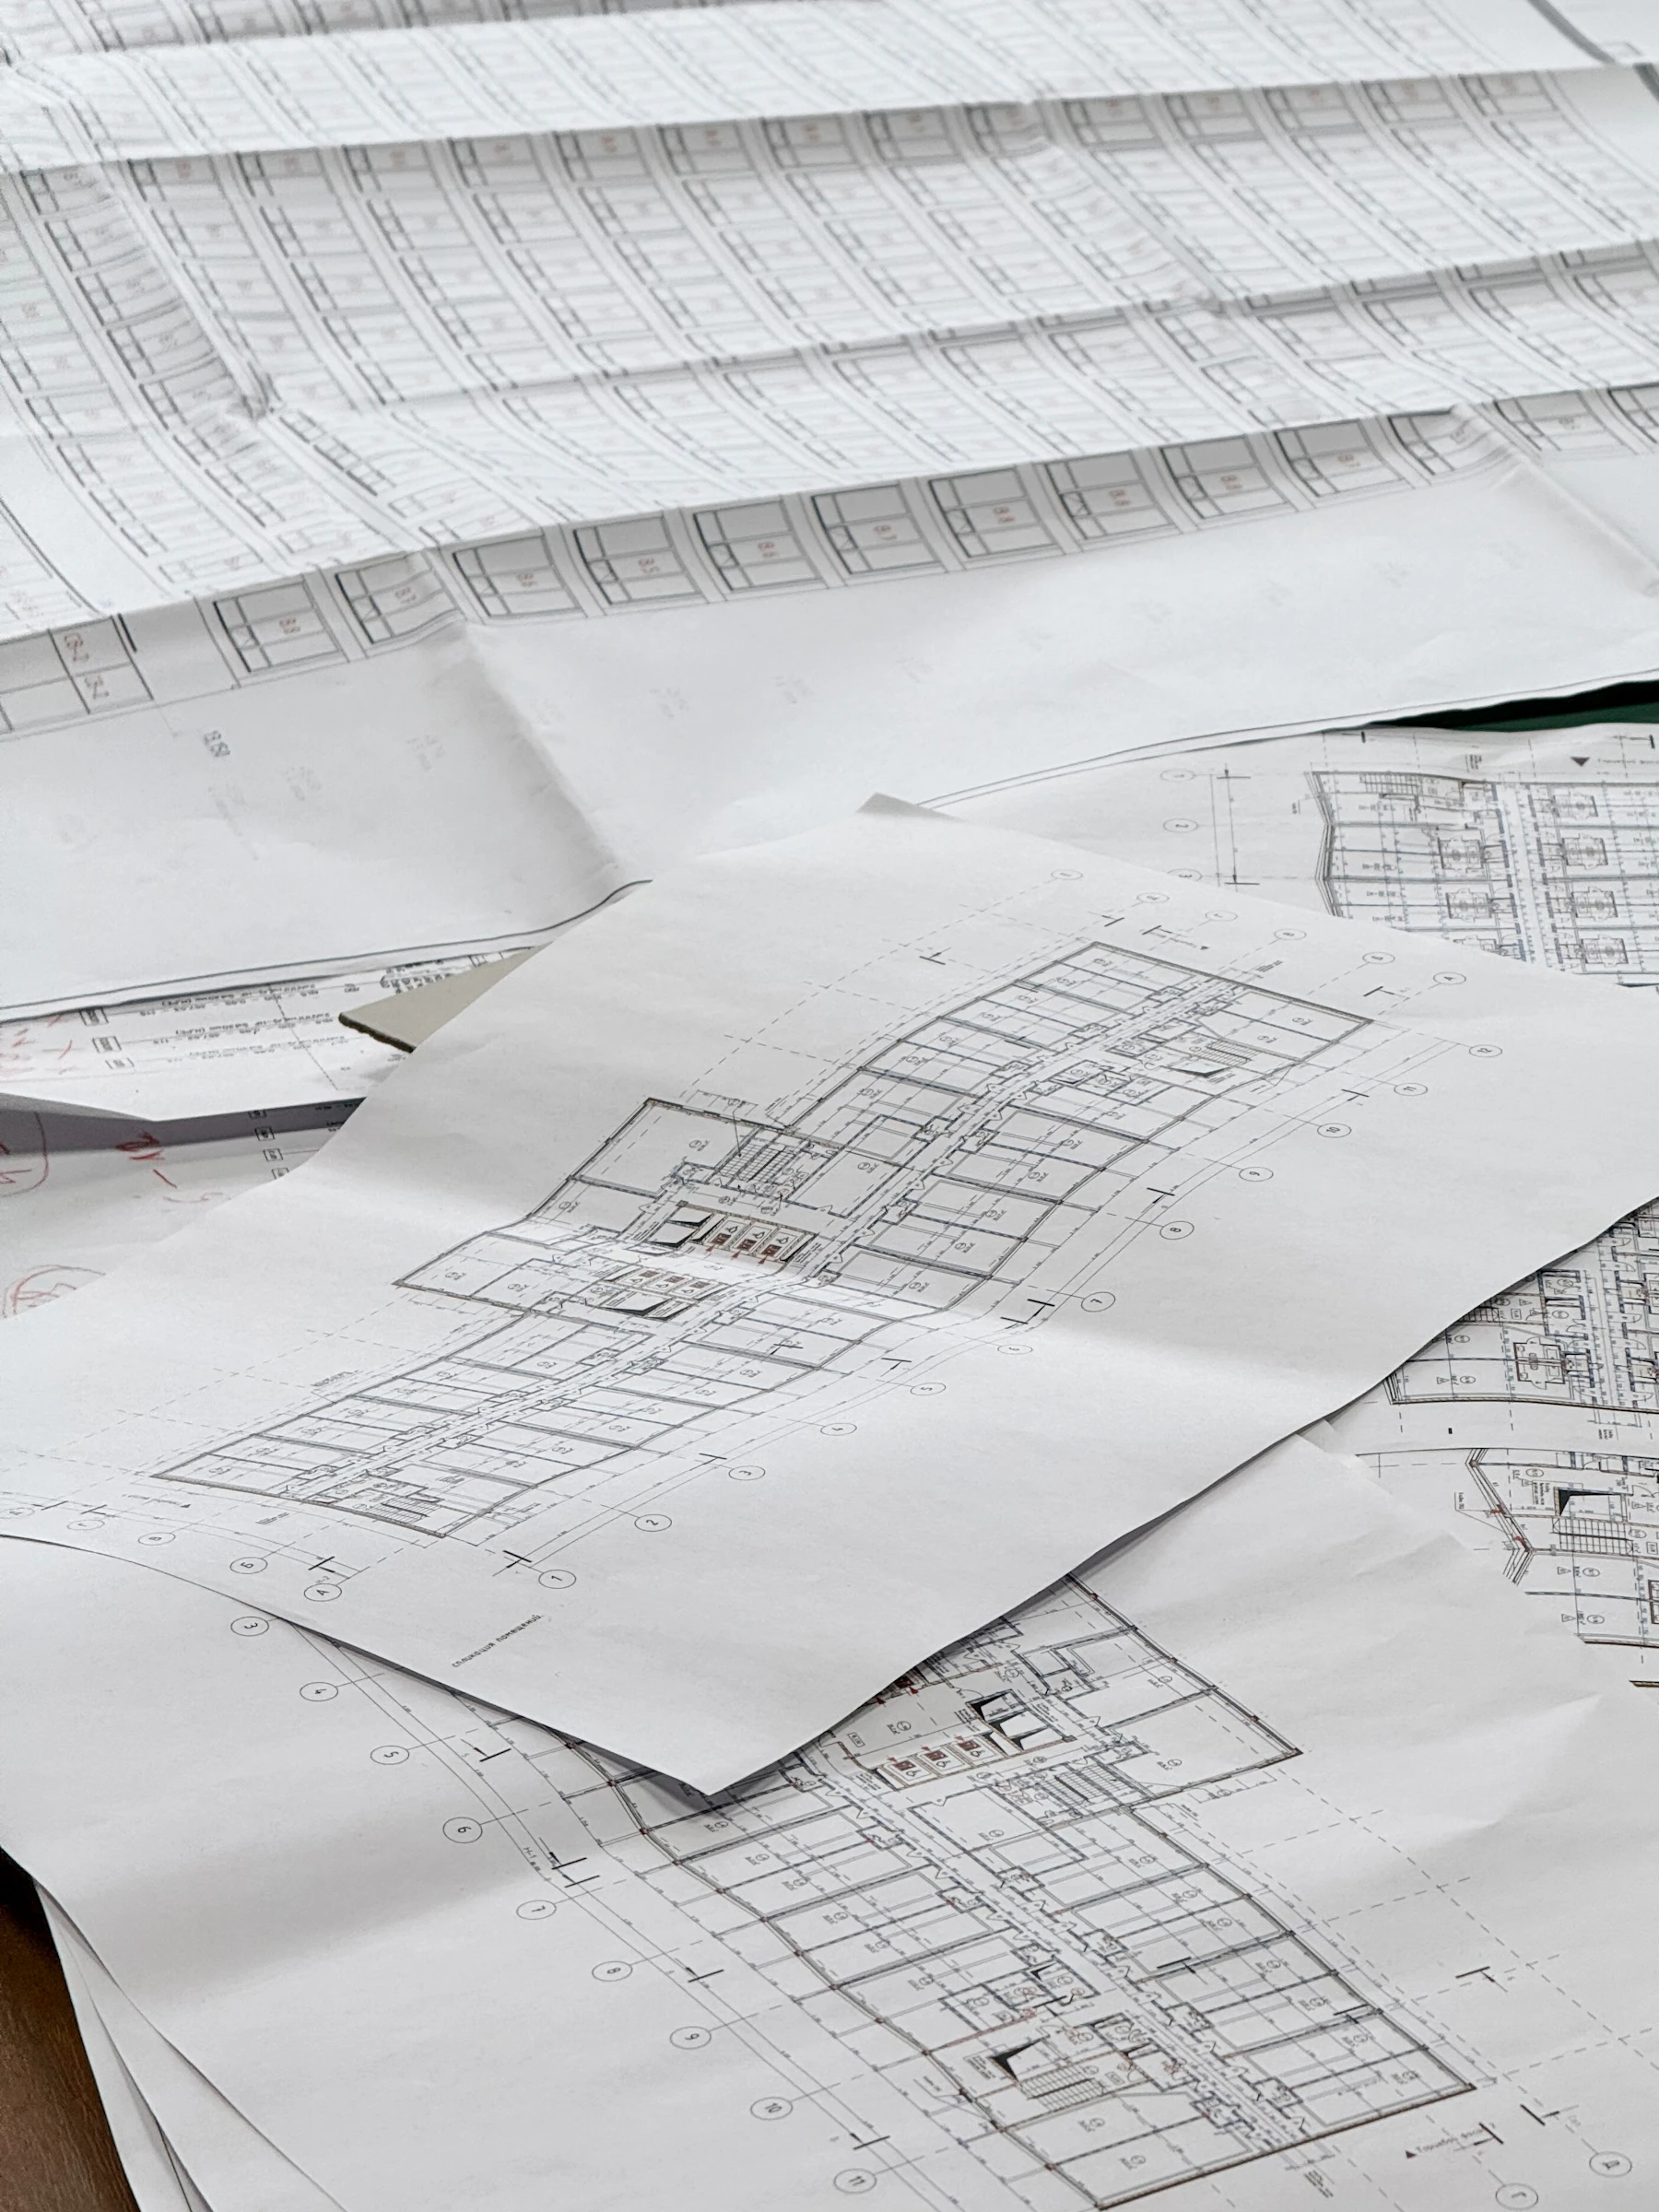
Walls, doors, windows, plumbing locations and stairs are the most expensive things to change later, so settle them first. Ask how the remodeled space connects to the rest of the house, where traffic will flow and where furniture will go. This is also when “finding space you didn’t know you had” happens: a closet absorbed into a kitchen, a wider opening, a relocated door. It’s the stage where an experienced eye pays for itself.
3. Systems: lighting, power, plumbing, heating
With the layout fixed, plan the infrastructure: a layered lighting plan, outlets where furniture and appliances will be, plumbing fixture locations, heating and ventilation. These disappear behind walls and ceilings, so they must be right before drywall.
4. Fixed finishes and big-ticket items
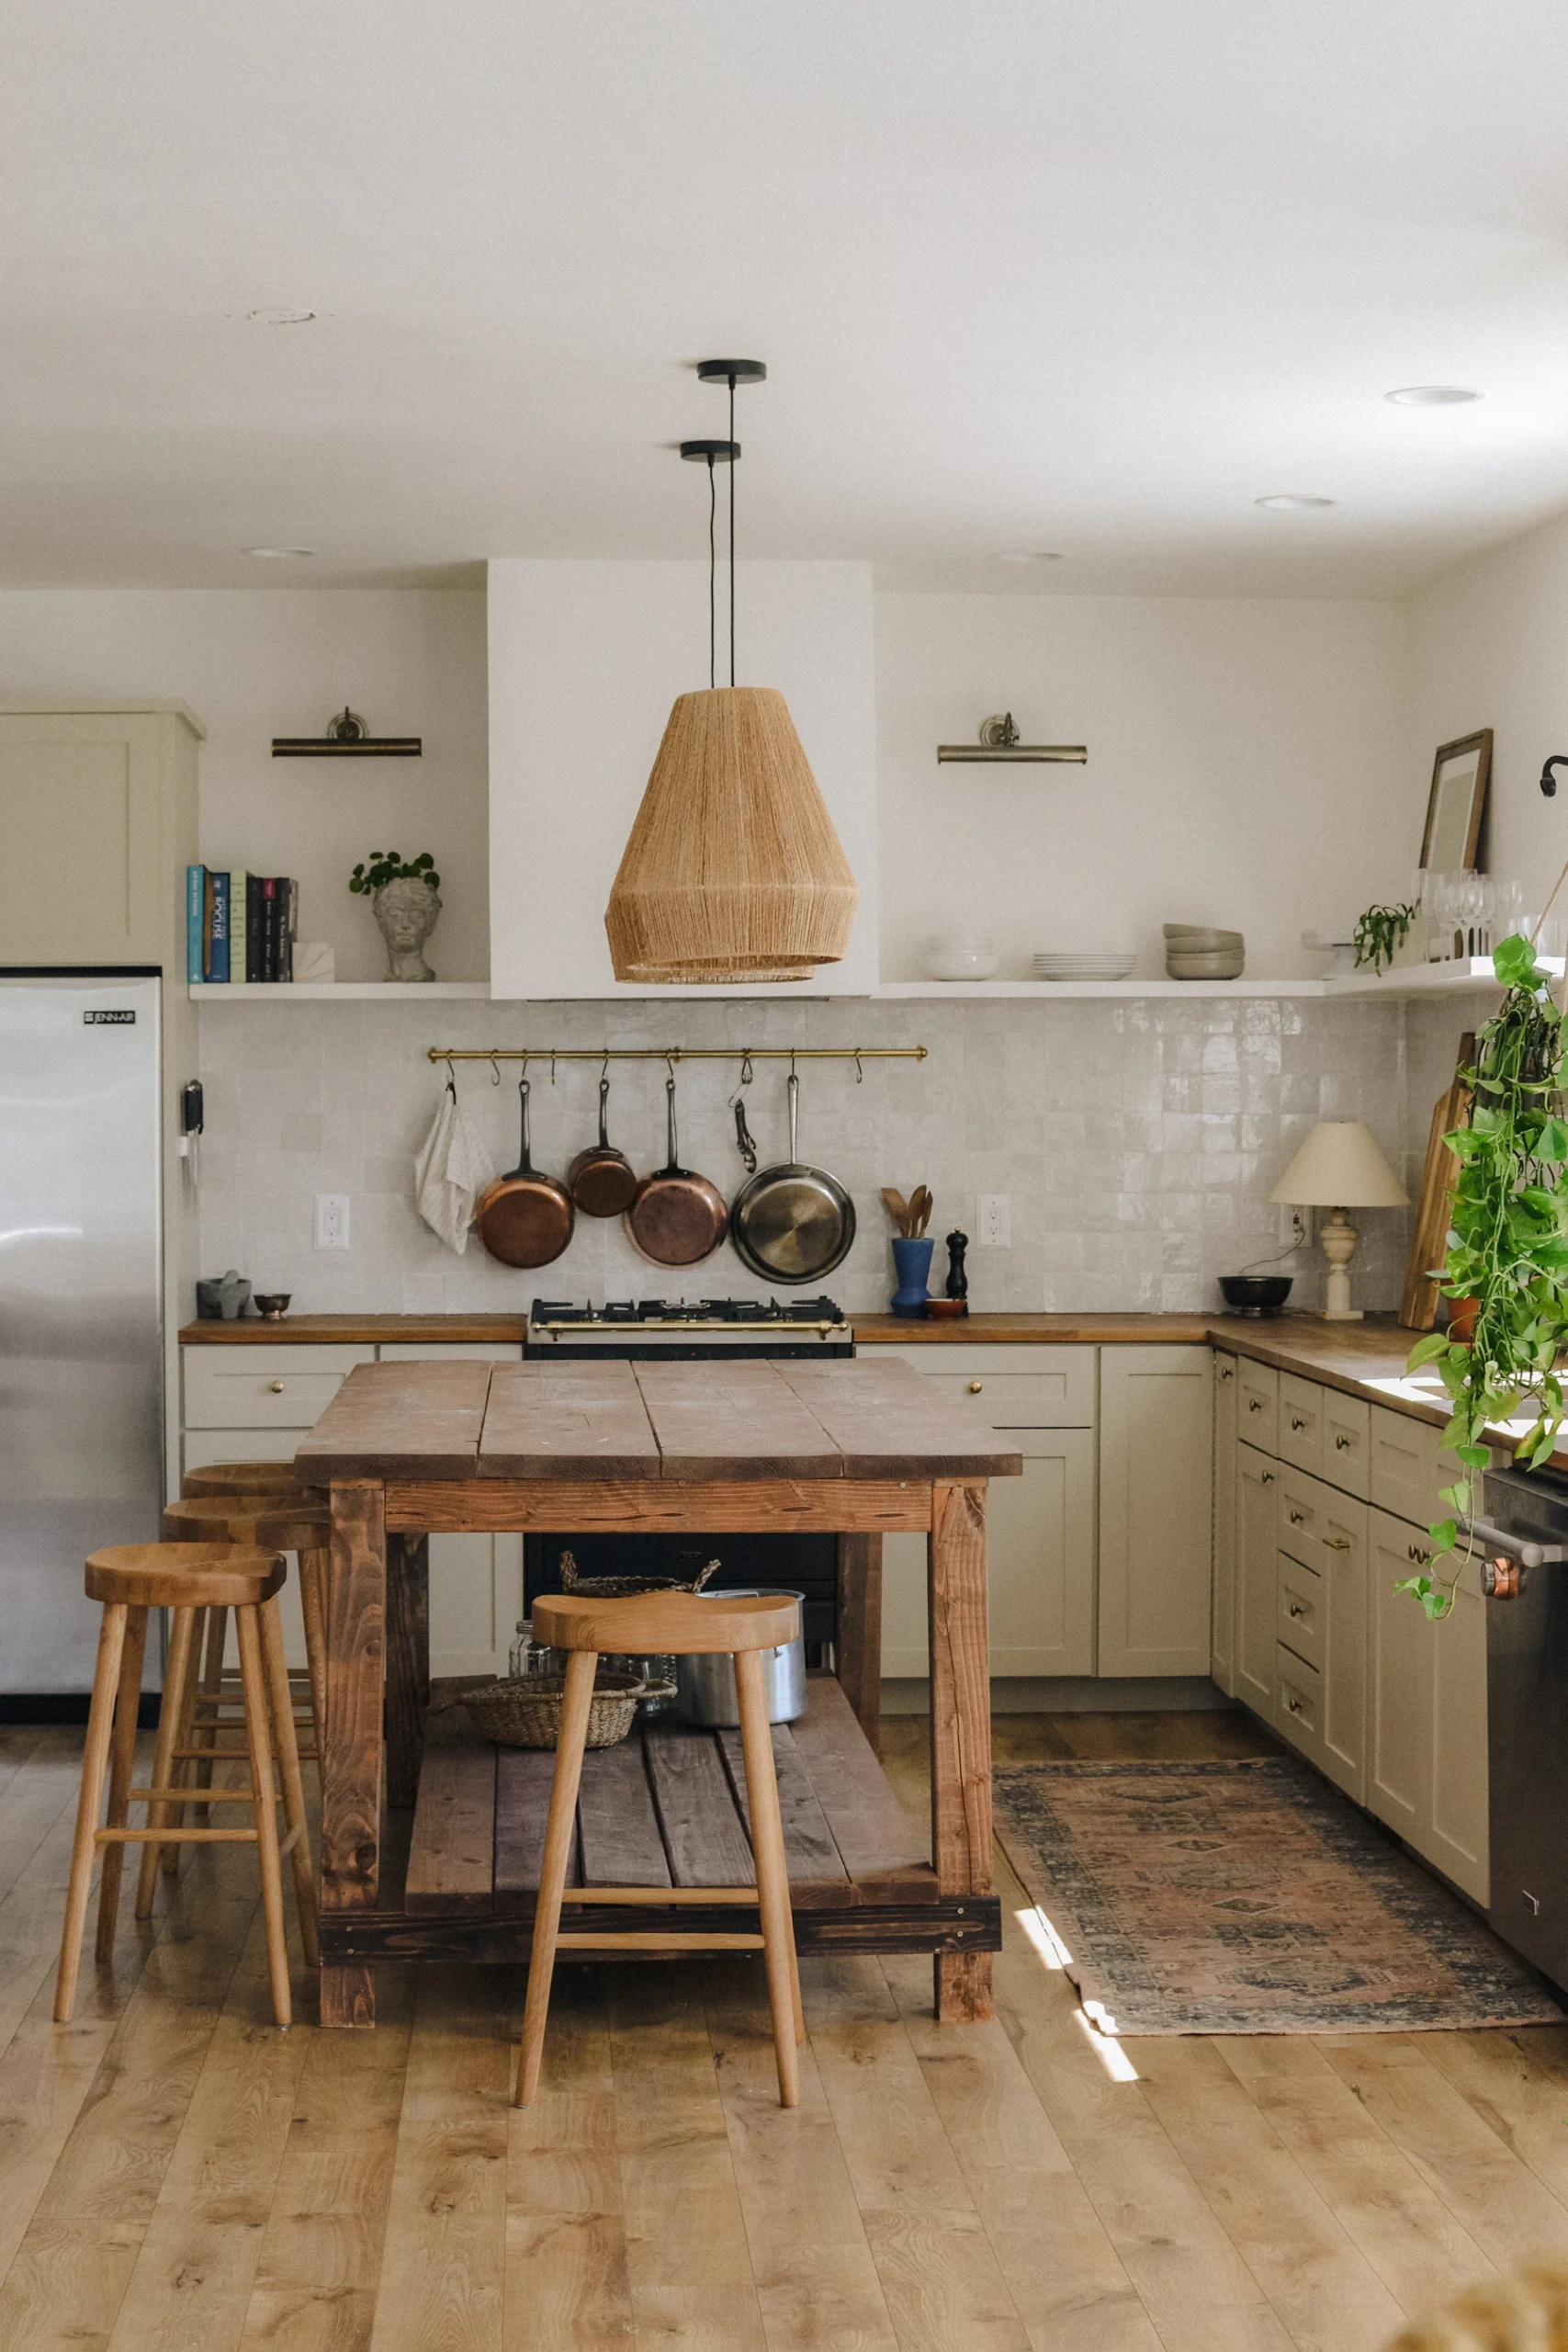
Next, choose the things that are permanent and expensive: flooring, cabinetry, countertops, tile, plumbing fixtures, appliances, fireplaces, built-ins and windows. Choose them together so undertones, styles and metals coordinate. Many of these have long lead times, so order early.
5. Paint and wall finishes
Paint is chosen after the fixed finishes, not before. There are thousands of paint colors and only so many countertops, so match the paint to the stone, not the other way round. Test samples in the finished room light (see choosing paint colors).
6. Furniture, window treatments, rugs
These come late because they depend on everything above, but plan their sizes and positions back in step 2. Window treatments need measurements taken after windows and trim are installed.
7. Art, accessories and the finishing layer
The last ten percent, and the part that makes a remodel feel like home rather than a showroom.
Older homes: special cautions
- Lead paint. In homes built before 1978, renovation that disturbs painted surfaces can release lead dust. Federal rules require contractors working on these homes to be lead-safe certified and follow specific practices. Ask your contractor.
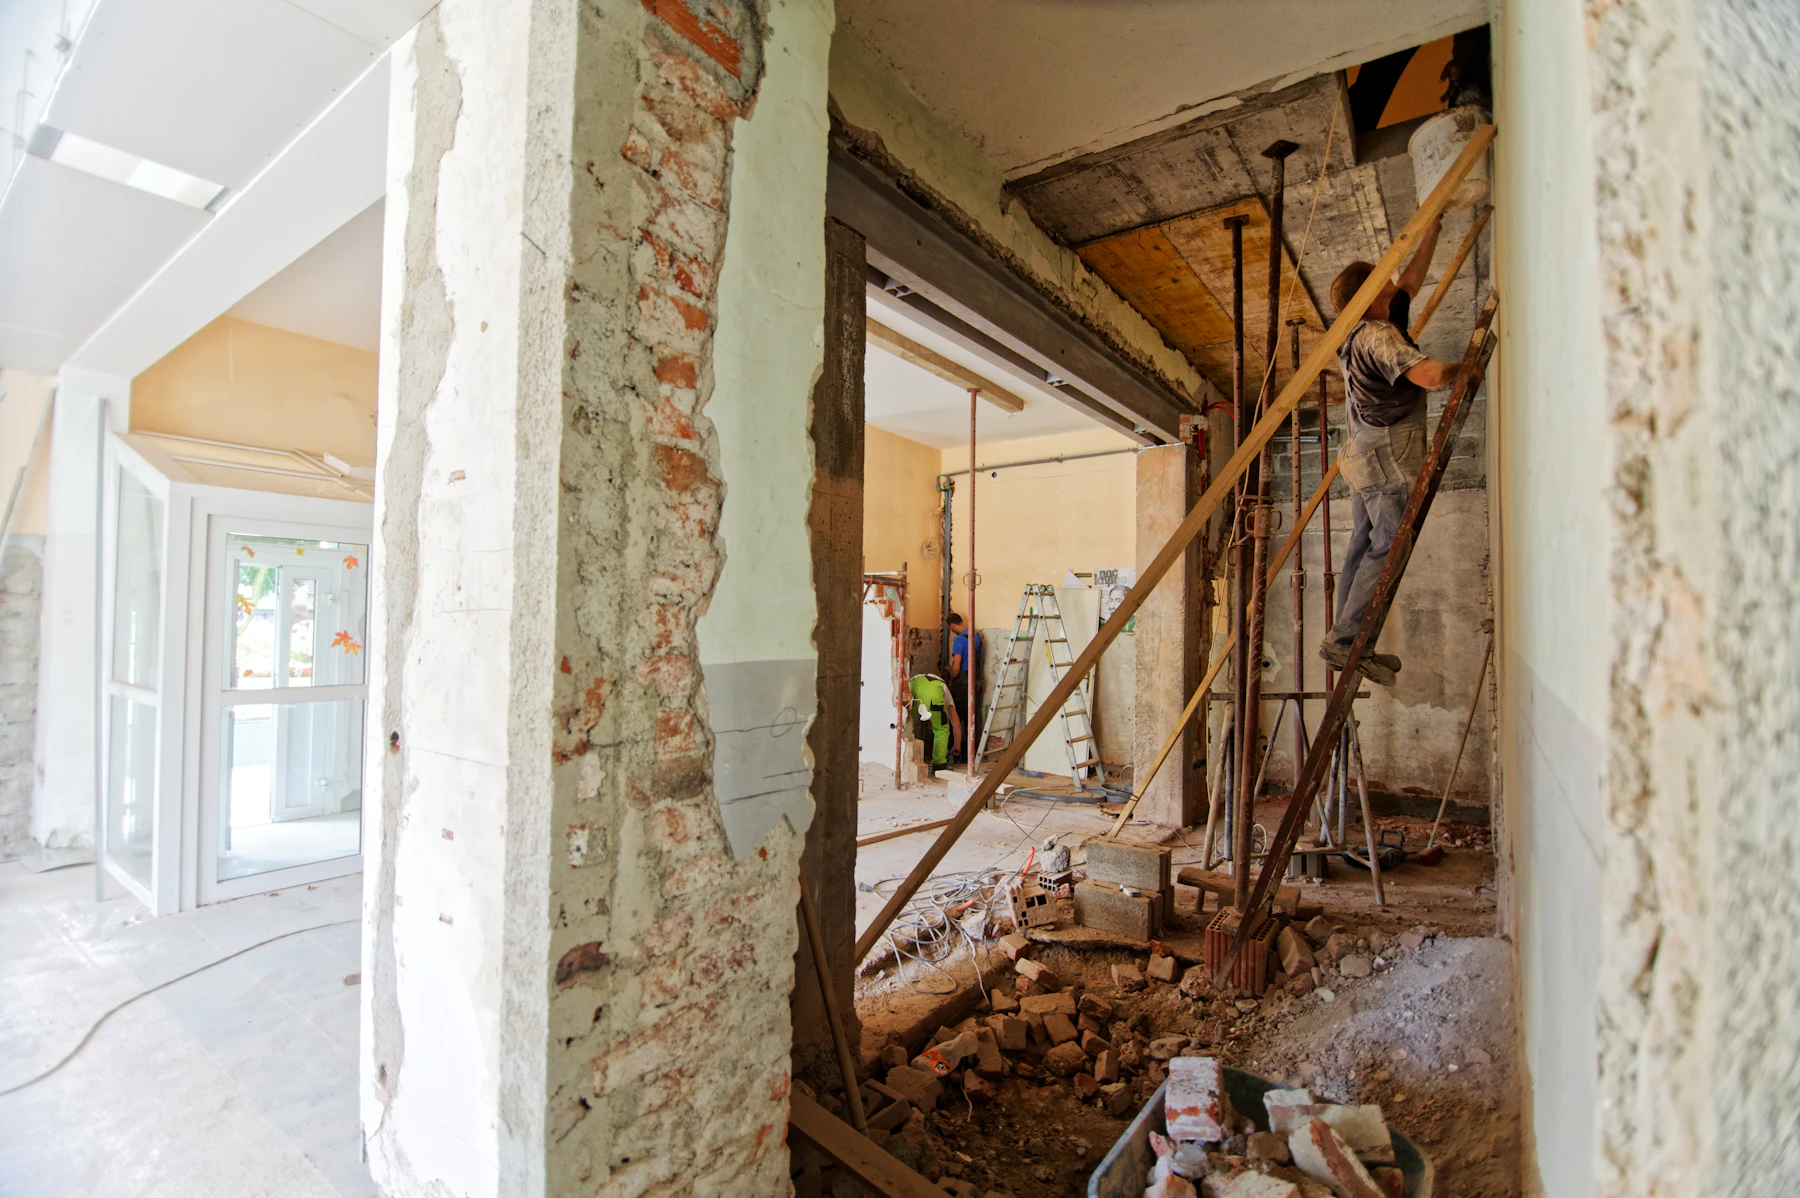
- Hidden conditions. Old wiring, plumbing, rot and past “creative” repairs often appear once walls open. That’s what the contingency is for.
- Character. Original trim, doors, hardware and floors are often worth preserving. Von’s years among the Victorian houses of Georgetown, Texas, taught her deep respect for architectural heritage.
Permits and professionals
Structural, electrical, plumbing and many other changes require permits from your city or county building department. Licensed contractors handle permits and inspections as part of the job. A designer sets the vision and the order of decisions; licensed local trades build it.
The takeaway
Big to small, permanent to changeable: goals and budget, layout, systems, fixed finishes, paint, furniture, then the finishing layer. Follow the sequence and most of the expensive surprises disappear. If you’d like help setting the plan, see remodeling and space planning.